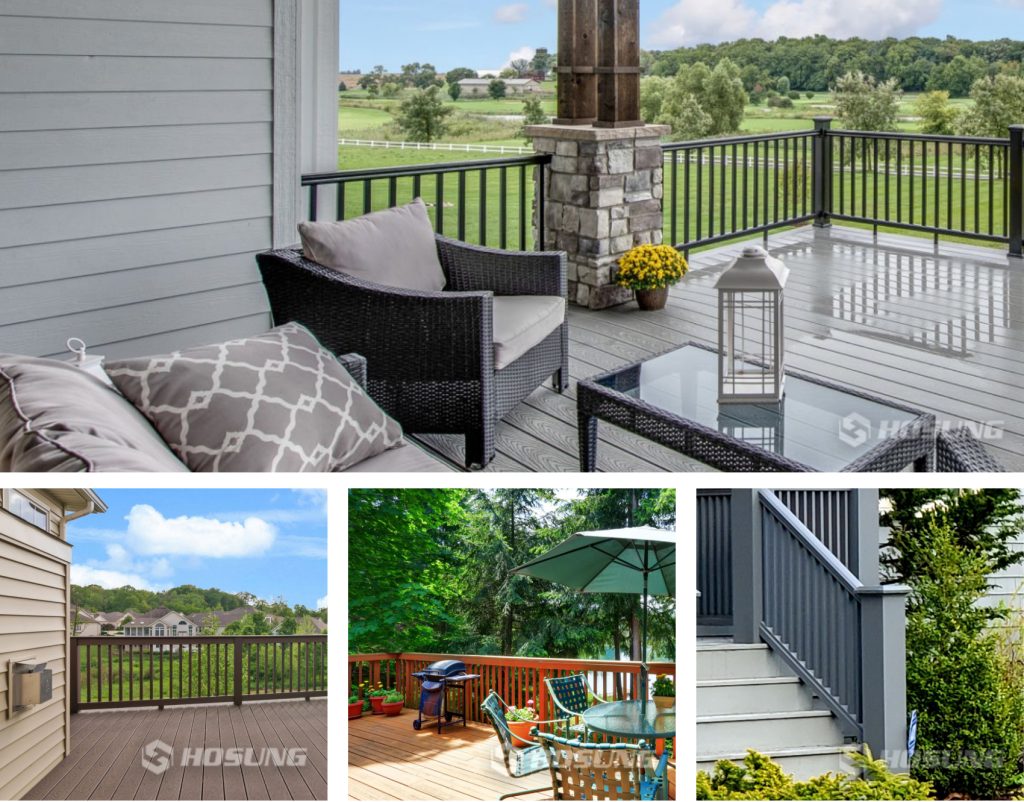
Building a deck in Australia is one of the most rewarding home improvement projects you can undertake. Whether you want to enhance your outdoor entertaining area, increase property value, or simply enjoy more time outside, a well-designed deck can transform your backyard. But before you start hammering nails, it’s important to understand the local regulations, climate considerations, and materials best suited to Australian conditions. In this comprehensive guide, we’ll walk you through how to build a deck in Australia, from planning and permits to choosing materials and completing construction.
Table of Contents
Why Build a Deck in Australia?
Australia’s climate is perfect for outdoor living. From the sunny beaches of Queensland to the cooler climates of Victoria and Tasmania, a deck offers:
Additional outdoor space for BBQs, relaxing, or family gatherings
Increased property value and street appeal
Functional transition zones between indoor and outdoor areas
Better use of sloped or uneven land
Whether you live in a coastal suburb or an inner-city townhouse, knowing how to build a deck in Australia can open up your living space significantly.
Planning Your Deck: Location, Design, and Budget
Before you start construction, thorough planning is essential. Here are the key factors to consider:
1. Purpose and Usage
Will your deck be used for dining, lounging, or a spa? This will influence the size, location, and materials.
2. Sunlight and Shade
Consider the sun’s path during the day. Will you need shade sails, pergolas, or a roof?
3. Privacy
Install screens or plant hedges to ensure privacy from neighbours.
4. Deck Size and Shape
Popular options include:
Square or rectangular decks
Wrap-around decks
Split-level or raised decks
5. Budgeting
Costs can range from $200 to $1,200 per square metre, depending on material and labour. Break down your budget into:
Materials (decking boards, fasteners)
Foundations (concrete, stumps)
Labour (DIY vs professional)
Council and permit fees
Finishes (oil, stain, paint)
Council Approval and Building Permits
One of the most overlooked but vital steps in building a deck in Australia is checking with your local council.
When You Need Approval
Regulations vary by state and local council, but you usually need approval if:
Your deck is higher than 1 metre off the ground
It’s attached to your house
It’s over a certain size (e.g., 10–25m² in many jurisdictions)
Documents You May Need:
Site plans
Engineering drawings
Structural certification
Neighbour consent (for boundary proximity)
Always contact your local council or consult a private certifier before starting.
Choosing the Right Decking Materials
In Australia’s diverse climates, choosing durable and low-maintenance materials is key. Below are the most common options:
1. Timber Decking
Merbau: Durable, rich colour, bushfire resistant (BAL rated)
Spotted Gum: Aussie native, strong, termite resistant
Treated Pine: Budget-friendly but requires maintenance
2. Composite Decking
Made from wood-plastic composite (WPC)
Low maintenance
Resistant to rot, termites, and UV
Available in various colours and textures
If you’re wondering how to build a deck in Australia that’s long-lasting and eco-friendly, composite decking is an excellent choice.
3. Hardwood vs Softwood
Hardwoods (like Ironbark) last longer but are heavier and more expensive
Softwoods (like Radiata Pine) are easier to work with and cheaper
Tools and Equipment You’ll Need
Here’s a checklist of basic tools for DIY decking:
Measuring tape, string line, and spirit level
Circular saw or drop saw
Drill and impact driver
Decking spacers
Joist hangers
Galvanised or stainless steel fasteners
Concrete (for footings)
How to Build a Deck in Australia: Step-by-Step Process
Let’s Break Down the Process into Manageable Steps
Building a deck might seem overwhelming, but when broken down into clear stages, it becomes an achievable project for any experienced DIYer or builder. Below is a detailed explanation of how to build a deck in Australia, step by step.
Step 1: Mark Out Your Deck Area
Before any digging or building, you need to define your workspace.
Use stakes and string lines to clearly outline the shape and boundaries of your deck.
Mark the corners, and use a builder’s square to ensure right angles if your design is rectangular.
Measure diagonals to check that the structure is square.
Consider marking the locations of posts or stumps if your deck is raised.
💡 Pro Tip: Use spray paint to mark the ground. This is especially helpful on grass or uneven surfaces and helps when digging post holes later.
Step 2: Install Footings and Stumps
This is the foundation of your deck and must be done properly to ensure safety and longevity.
Excavate post holes according to your local building code (typically 300–450mm in diameter and at least 600mm deep).
Pour in concrete to create solid footings. While the concrete is still wet, set your post anchors or steel stirrups into place.
Ensure all footings are aligned and at the correct height using a laser level or string line.
Let the concrete cure for at least 24–48 hours before proceeding.
💡 Note: In areas with high wind or bushfire risks, deeper footings and reinforced stirrups may be required. Always consult your engineer or certifier.
Step 3: Build the Frame
This is the structural skeleton of your deck and determines its overall strength.
Use H3 or H4 treated pine, or hardwood bearers and joists suitable for outdoor use and compliant with Australian standards.
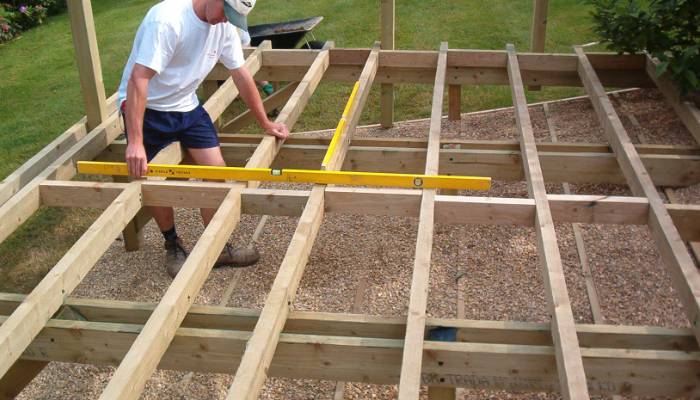
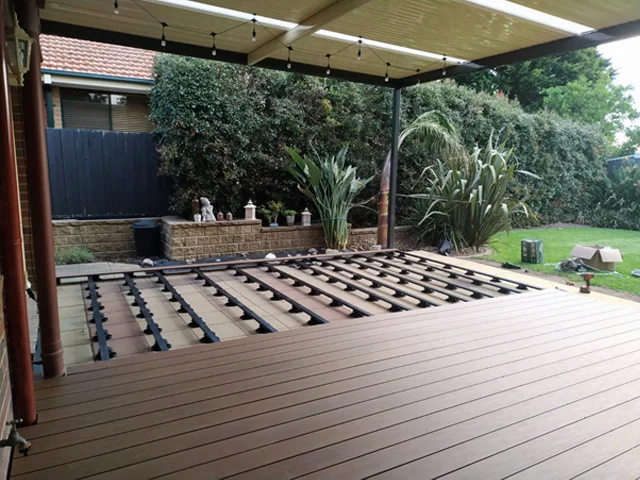
Secure bearers to the post stirrups, then fix joists perpendicular to the bearers using galvanised joist hangers, nails, or decking screws.
Ensure the joists are evenly spaced—typically 450mm centres for timber decking and 300mm for composite decking.
Use a spirit level frequently to maintain levelness across the frame, especially on sloped ground.
💡 Pro Tip: Add a weed mat or gravel underneath the deck to prevent weed growth and improve drainage.
Step 4: Lay the Decking Boards
Now comes the exciting part—seeing your deck take shape.
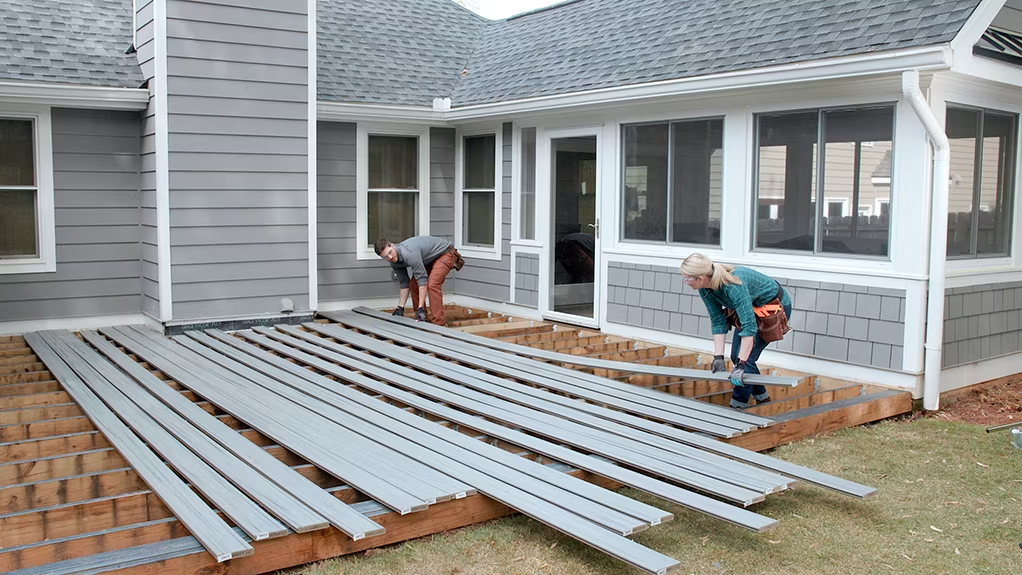
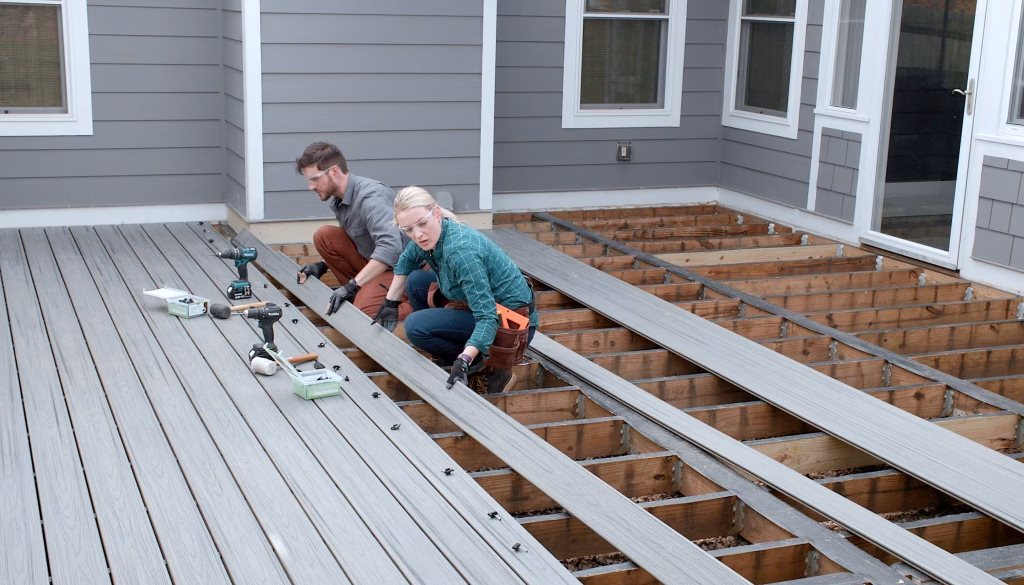
Start laying boards from the edge closest to the house to ensure a straight, clean starting line.
Maintain consistent spacing (5–6mm) between boards using plastic spacers. This allows for natural expansion and contraction due to weather.
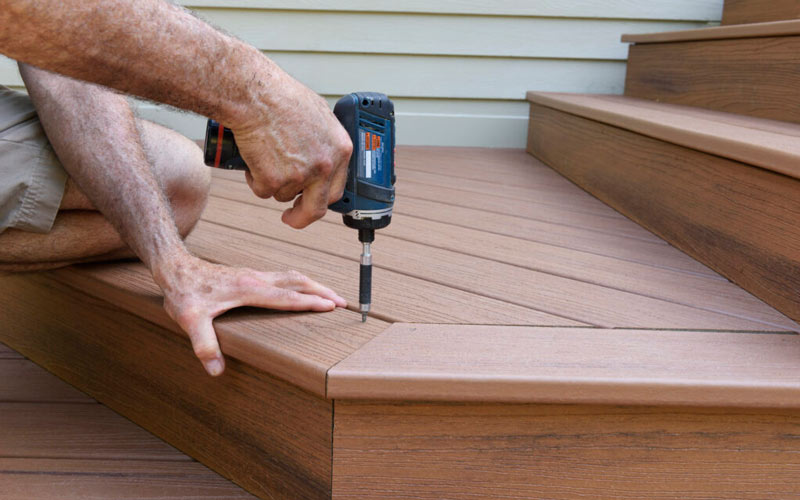
For composite decking, use manufacturer-recommended hidden fasteners or clips for a seamless finish.
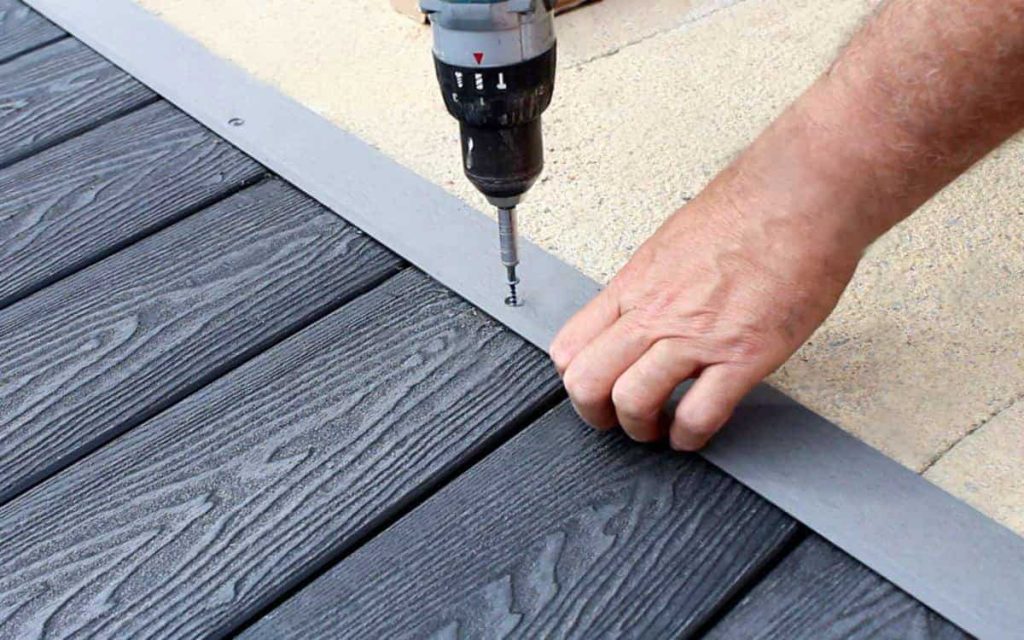
For timber, pre-drill screw holes to avoid splitting and use stainless steel or galvanised screws to prevent rust.
💡 Safety Tip: Always wear safety glasses and gloves when cutting or screwing boards.
Step 5: Add Finishing Touches
Your deck is nearly complete, but a few final steps make a big difference in appearance and safety.
Attach fascia boards to cover the exposed edges of the frame for a polished look.
If your deck is raised, install stairs and ensure they meet local code in terms of tread and riser dimensions.
Add handrails or balustrades if the deck is more than 1 metre above ground. Choose styles and materials that match your overall aesthetic.
Sand any sharp corners or splinters, especially if you’re using timber decking.
Apply timber oil, stain, or sealer to protect against UV, moisture, and insects (skip this step if you’re using composite decking).
💡 Maintenance Tip: Allow freshly oiled decks to dry for at least 24 hours before walking on them or placing furniture.
These steps form the essential framework of how to build a deck in Australia, ensuring not just structural soundness but also long-term performance and visual appeal. Proper planning and execution at each stage will reward you with an outdoor space that you and your family can enjoy for years to come.
Safety Standards and Bushfire Regulations
Australia has specific standards under the Building Code of Australia (BCA) and Australian Standards (AS), including:
Slip resistance requirements for decking
Handrails and balustrades if over 1 metre high
BAL (Bushfire Attack Level) ratings for fire-prone areas
Check if your area is zoned for BAL. You may be required to use non-combustible or BAL-rated materials, such as:
Spotted Gum or Ironbark (hardwoods with natural BAL rating)
Composite materials with fire resistance certification
Maintaining Your Deck for Longevity
For Timber Decking:
Clean every 3–6 months with deck cleaner
Re-oil or re-stain every 1–2 years
Check for rot, cracks, or nail pops
For Composite Decking:
Hose down occasionally
Use mild soap for spills or stains
No need to sand or oil
Regular maintenance not only extends the life of your deck but also keeps it safe for use.
FAQs on Building Decks in Australia
1. How much does it cost to build a deck in Australia?
Expect to pay:
DIY Timber Deck: $200–$400 per m²
Professional Composite Deck: $500–$1,200 per m²
Prices depend on location, material, and complexity.
2. Do I need a permit to build a small deck?
Yes, possibly. Even a small deck may require approval if it:
Is elevated
Is close to a boundary
Changes stormwater drainage
Check with your local council.
3. What’s the best decking material for Australian conditions?
Composite decking is ideal for most areas due to its durability, UV resistance, and low maintenance. For a natural look, Spotted Gum or Merbau are top choices.
4. Can I build a deck myself in Australia?
Yes, if you’re experienced and the project is small. However, for large or elevated decks, it’s best to consult a licensed builder or carpenter.
5. How long does it take to build a deck?
Small DIY deck: 3–5 days
Large professional deck: 1–2 weeks
Timelines vary depending on materials, design, and weather conditions.
Conclusion: Start Building Your Dream Deck Today
Understanding how to build a deck in Australia involves more than just nailing boards together. It’s about smart planning, compliance with regulations, and choosing the right materials for your climate and lifestyle.
Whether you choose to DIY or hire a professional, a well-constructed deck is a smart investment that enhances your home’s functionality and value.
Ready to start building? Make sure you plan thoroughly, choose quality materials, and follow Australian standards to ensure your deck stands the test of time.

